Sunday, August 7, 2011

Creamy Meatballs

My son Carter is a pretty decent meat eater (for a 20 month old). I was thawing out 1lb of meat for Sloppy Joes and realized I did not have any seasoning left. The meat was already soft, so I thought I might try my hand at a nice creamy meatball recipe. The outcome was very yummy, and Carter ate it up! This of course is a victory for any mom out there trying to feed a toddler. ** KID APPROVED** Very quick recipe, only 3 ingredients! Serves up great over plain pasta noodles (not spaghetti type meatball) or by themselves with a salad and potatoes.

Recipe:
1 lb of ground beef or ground turkey
1 can of Cream of Mushroom
1 package of Liptons Onion soup mix

1. Roll your meat into desired ball size, and place in a skillet. Brown each side, then cook fully (browning first helps keep your meatballs in round shape, before you move them around a lot while thoroughly cooking)

2. Add in your can of Cream of Mushroom, and your package of Onion soup mix (adding the proper water amount as stated with the mix)

3. Mix and turn on medium/low heat. Allow mixture to thicken and then turn to simmer.

YOUR DONE! Wow, awesome... enjoy the tastiness you just created. :)

Saturday, August 6, 2011

Flash back recipe

We had some friends over one night for treats and Wii game playing. I decided to not venture off into any new and foreign recipes - so I made previously tried and loved yummy bunny goods. Click the name to be directed to the post with recipe. :)


Stuffed Pepper Guts


So, I am sure you have heard of stuffed peppers - right? Well, this is the same, just with out the stuffing of a pepper. I use to always buy about 5 green peppers, slice off the tops, wash and clean out the insides and load them up with the meat mixture, place in a dish and bake. I found however, that we never ate the pepper, just carved it out and discarded. What a waste! So now I save a little money, and effort and still get the pepper yumminess. Here is my easy way:


Recipe:
1 lb ground beef or ground turkey
1 green bell pepper
Finely shredded Colby and Monterey Jack cheese
1 Jar (24 oz) of Prego Sauce (I use garden variety)

1 Cup of White Rice
1 large skillet

1. Get your rice cooking first, as it takes the longest. Use a rice cooker or stove top. (remember, 2:1 ratio... 2 cups of water or 1 cup of rice -- boil, then cover/simmer)

2. Cut off the pepper ends, discard then slice up into the rest into fine pieces. Cook meat in skillet, halfway through adding the peppers - when cooked fully drain fat out.


(picture without rice added)

Now place back on burner and add the whole jar of Prego Sauce, and most of the cooked white rice. Mix around and turn to a low/swimmer. Add cheese, or allow your family/guest to serve their desired amount when dished up.
((*NOTE: If your skillet is not large enough to manage the amount, transfer the meat to a large pot, then add sauce/rice..and place on stove burner**))

Yes, you're done! It was that easy! Goes great with some home made bread sticks too! Yum Yum Yum~

Breadsticks

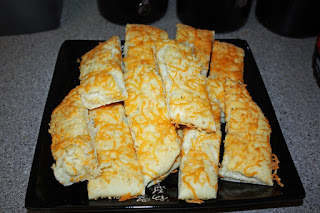
This recipe is so tasty next to a large plate of spaghetti or stuffed peppers guts. YUM! It is a quick bread, so no hour+ waiting for dough to rise - just about 5 minuets to make sure the yeast activates. Super Simple, Super Delicious!


Recipe:
1 Tbs Dry yeast (or 1 package of dry yeast)
1 Cup warm water (~110F)
1 Tbs Sugar
3.5 Cups of Flour (give or take a little...start off with 3, then add)
2 Tbs Olive Oil
1 tsp Salt

Put 1 cup of water into a tall dish or bowl, add the sugar and yeast. Stir around gently and then let rest. Your yeast (if good) should activate. You can tell because a nice foam will grow on top of the water. If this does not happen, try again. Yeast will not activate if water is too cold, and will die if water is too hot. (and sometimes, you just get a bad batch of yeast, might be old). When this is done add the yeast mixture to your flour and combine with the salt and olive oil. Mix around the best you can with a large fork or wooden spoon. Now flour your hands up and knead the dough until it is smooth, round and soft.

Place a sheet of parchment paper over a flat cookie sheet and place your dough ball into the center. Roll the dough out into a big "pizza" circle. (I often tear another sheet of parchment paper off and place it on top of my dough, then use a rolling pin to flatten - it saves it from sticking to my rolling pin, and saves me from having to wash another dirty utensil. -- sprinkle the dough with some flour before though!)

Now you can either move right along with the yummy breadstick making process, or leave dough to relax for about 10 mins. This will allow it to settle and grow some in height. Now what you want on your bread stick is up to you. My normal process is this:

1. Spread thin layer of butter over the top (raw dough, still....have not baked it yet!)
2. Sprinkle Garlic salt and powder over the top, then if handy, sprinkle garlic bread seasoning over the top as well.
3. Sprinkle Parmesan cheese powder
4. Sprinkle finely shredded Parmesan cheese
5. Sprinkle finely shredded Colby and Monteray Jack cheese
6. Crush and sprinkle parsley leaves over the top.
(note: I forgot the parsley in my picture...sorry - the green gives it a nice finished look)
-- I often spread "Italian Seasoning" mixture over as well. Just don't overdo the flavors, moderation people! Moderation...
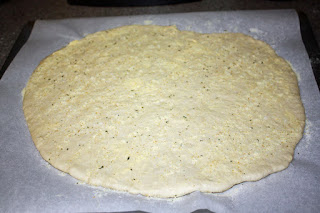
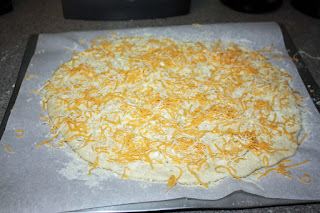

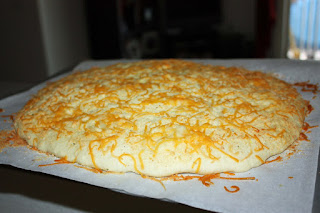
Okay now that you have this fine looking raw circle in front of you - shove it into the over! 350F for about 17 mins. Just watch for done-ness. The bread should rise and fluff up, and the cheese crust a little on the edges.

I hear the timer going off! Take it out!

Allow to cool.
Then using a knife, or preferably, a pizza cutter - slice the bread into long/short strips. and ..YAY! You're finished...and I bet it looks great. Enjoy~
Friday, June 10, 2011

Challah Bread! Mmmmm

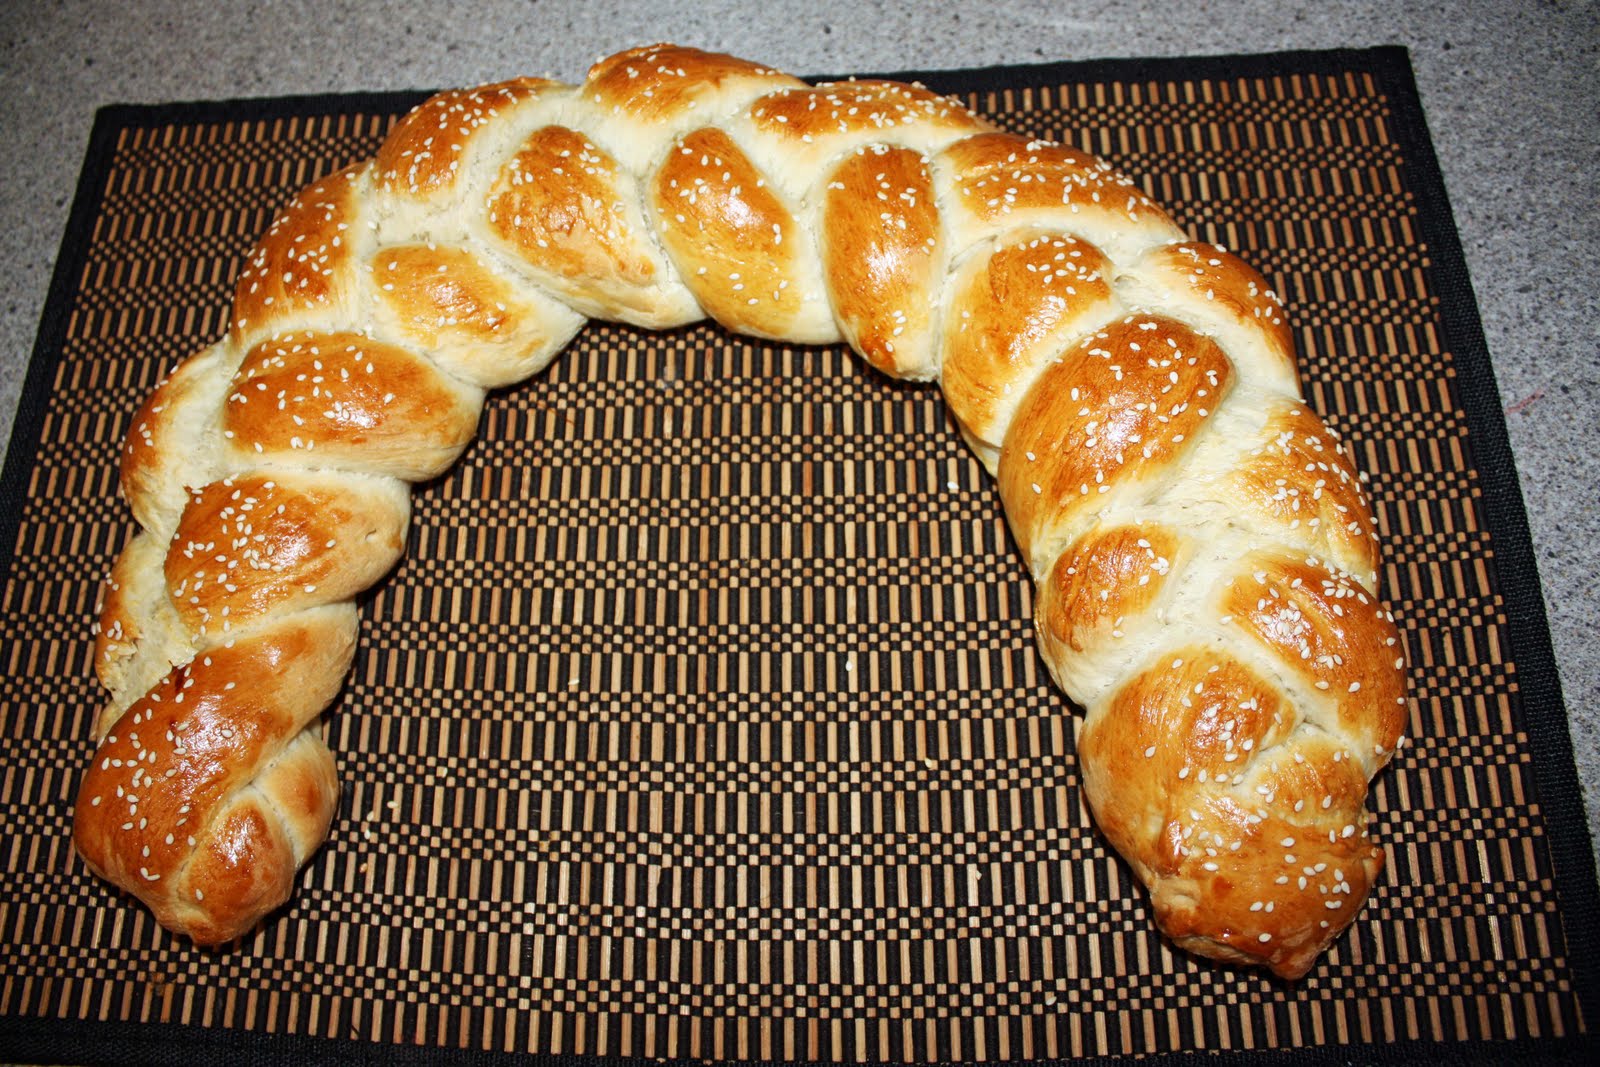
This is a fancy-dancy looking bread you can make when guests come over for dinner.....or on a Wednesday night while your husband is in a late study group meeting. It is again, like most of my recipes on here, simple to make - and does not require hours like some yeast breads. I wanted to impress my husband with it's cool braided design and it did the trick. He thought it looked all store bakery - I smiled :) This is the original "Egg Bread", but with 2 modifications, making it a "Challah"...which supposedly is a Jewish origin bread, traditionally made during holidays. Even though it looks like a lot of hard crust it is in fact very soft and moist. The brushing of egg yolk before baking gives it that nice golden look. It was especially yummy with butter, honey or Honey-Butter mixture. Mmmmmm Enjoy~


Recipe:
4 3/4 to 5 1/4 Cup All Purpose Flour
1 package of active dry yeast (or 1 Tbs yeast from jar)
1 1/4 cups Water
3 Tbs Sugar
3 Tbs of Margarine
1/2 tsp salt
2 Eggs

1. In a large mixing bowl stir together 2 cups of flour and the yeast; set aside. In a medium saucepan heat and stir water, sugar, margarine and salt until just warm (margarine starts to melt). Add water mixture to flour mixture along with eggs. Beat with electric mixer on low to medium speed for 30 seconds (or stir with fork/wooden spoon till all ingredients combined). Now add in as much of the remaining flour as possible. Don't over do it though! I believe I only used a little over 4 cups.

2. Knead enough of the remaining flour to make a moderately stiff dough that is smooth and elastic ( 6-8 mins) Shape dough into a ball and place in a lightly greased bowl, turning once to grease all sides. Cover; let rise in a warm place until double in size ( about 1 hour).

3. Punch dough down. Divide dough into thirds. Cover; let rest 10 mins. Roll each third into an 18-inch of so long rope. Place ropes on a greased large baking sheet, 1 inch apart; braid ropes. (now, I did not have a "large" baking sheet, so I braided my ropes on the counter and transferred it to my parchment paper, making a rainbow shape to fit on the sheet. ) cover, let rise in a warm place until nearly double (about 30 mins) ----brush braid with 1 beaten egg yolk (*gasp* I don't have a brush!....just use your hand! I would grab some yolk and just smear it across my bread....wash your hands before and after though! gross! :) ---sprinkle bread with sesame seeds and/or poppy seed.

(I had "rope" that was longer than the others...I cut it into 3 more little ropes and made a small braided bread-stick...hehe waste not want not!)

4. Bake at 375F for 25-30 mins -- or until bread sounds hollow when you tap the top...cover with tin foil if it is not done cooking and you don't want the bread to get to brown. My only took 22 mins to bake. Enjoy your awesome looking masterpiece!

(after baking)
Yumminess!

Saturday, June 4, 2011

*Cocoa Cats*

There is more than one way to skin a cat.... a cookie cat that is! That is exactly what Carter and I made this afternoon; some cute cocoa kitties! I was actually going to make a traditional Christmas Scandinavian treat tonight, but lacked one of the ingredients - so I perused the book and thought these looked fun- (Cats are one of Carter's favorite animals...) - They were super super simple to make and had minimal ingredients. They came out soft and moist, with a rich cocoa taste. I used some frosting from cookies I made the other month, that I had stored in the freezer (thus the blue). Carter kept pointing and say/signing Cat! Cat! (we do sign language with him) It was so darn cute. It was a hit with Don and Carter~ Success! Have fun making these critters (idea: use orange frosting for Halloween time! )


(I had some dough left over, so I made little paws! hehe)

Recipe:
  • 1/3 Cup Shortening
  • 1/3 Cup Butter (softened)
  • 3/4 Cup Sugar
  • 1/3 Cup unsweetened cocoa powder
  • 1 tsp baking powder
  • 1 Egg
  • 2 Tbs Milk
  • 1 tsp Vanilla
  • 1 3/4 Cup all-purpose flour

1. In a large mixing bowl, beat or stir the shortening and butter together till creamy and smooth. Add sugar, cocoa powder, and baking powder. Beat until combined. beat in egg, milk and vanilla until creamy. Add flour and stir till fully combined.

2. Now the recipe calls for chilling the dough for about an hour or 2 for it is easy to handle. I decided to just add a little extra flour to make the dough slightly tougher and just roll out and shape. ....So your choice! :) Roll the dough and using a cat cutter, cut out the animals. Now, another side road I took...I did not have a cat cutter! haha...but I did have a large circle. So I cut out large circles and then took a knife and cut out a triangle on top for an ear then line and another triangle for the other ear. Then just chiseled off the edges to make triangle shaped cheeks. :) It worked...
(uncooked kitties)


(cooked kitties)

3. Place cookies in a baking sheet, (parchment paper!) Bake cookies at 375F for about 7-9 mins. (or until edges are firm and bottom is light) 7 mins worked perfectly for my "cats". ....Take the *cats* out and allow to cool fully. Then use your icing skills to create the purr-fect feline faces! I used my icing recipe found in my previous post for black belt cookies

Don and Carter approved! They both gobbled them up..and, of course, a cat wouldn't be complete without a large glass a milk by their side. Yum Yum....


however: I would have liked them more if they were ginger, and not cocoa. I ate one. That was enough for me!

Tuesday, May 31, 2011

Pumpkin Cookies and Frosting

Now I got this recipe back in college from my room-mate Valerie. They are sooo moist, soft and flavorful! This is a must during the Fall season...and when I need a little holiday feel during the rest of the year. I was browsing through my pantry the other day and saw a can of pumpkin and thought it needed to be put to work. The outcome? YUMMINESS.


Cookie Recipe:
2 cups Flour
1 tsp Baking Powder

1 tsp Baking Soda
1 tsp Cinnamon
1 Cup Sugar

1 Cup Butter
1 Egg
1 Cup Pumpkin
1 tsp Vanilla

Frosting Recipe:
2 Tbs Butter
4 Tbs Milk
1/2 Cup Brown Sugar
1 Cup Powder Sugar
1 tsp Vanilla

1. Preheat oven to 350F

2.Cream butter, sugar, egg and vanilla -- sift dry ingredients and slowly add to the creamed ingredients.

4. Spoon onto baking sheet (greased, or layered with parchment paper)

5. Bake for 10-12 mins (don't over cook! Watch the cookies!!)

6. Transfer to wire rack -- top with frosting when cooled.

Wow, that was simple, eh? Go enjoy....in moderation!!